
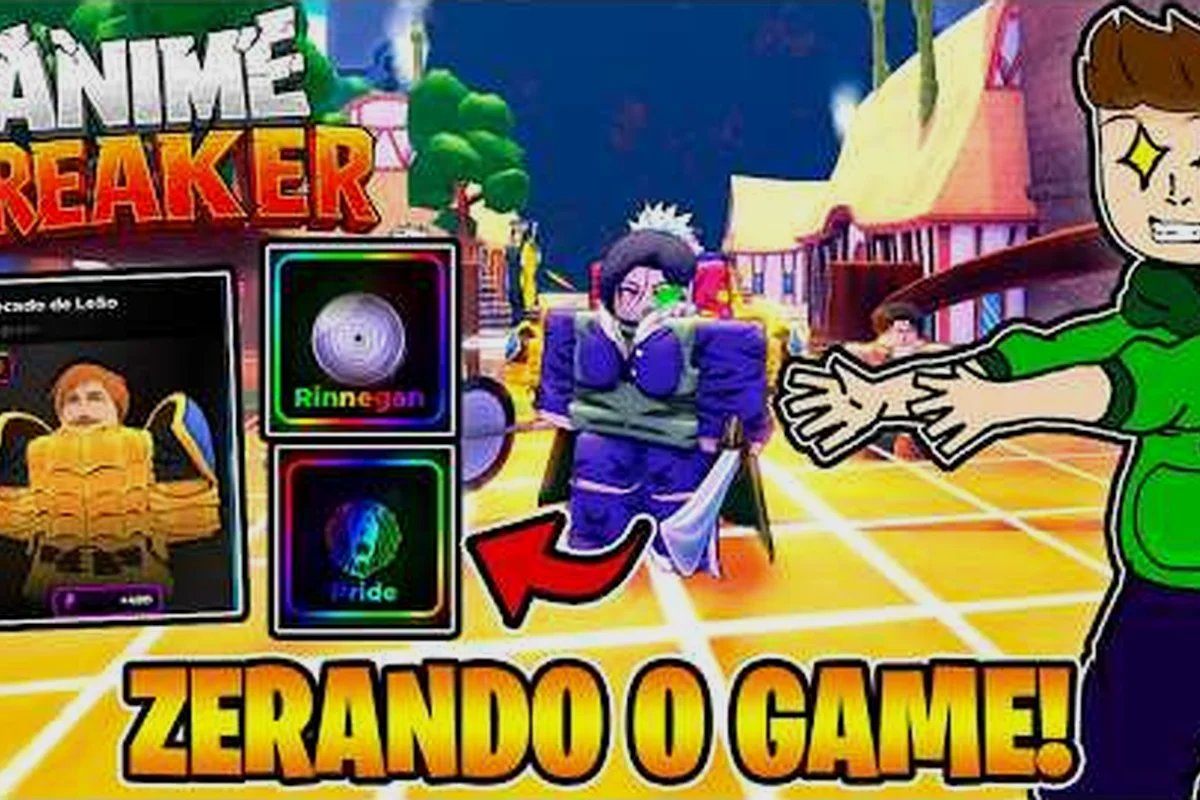
Raids in Anime Breaker hit like a wall the first time you try one without a full squad. Damage checks spike, bosses enrage early, and half the lobby usually leaves before the final phase. The good news is that an Anime Breaker solo raid strategy is more about preparation than raw power, and a single player with the right portal key, gear setup, and timer knowledge can clear every major encounter the game currently offers.
This guide breaks down the no-party clear route from start to finish. You will learn how to unlock the right portals, how to read the spawn timers so you are never late, what to actually pick from the drop table, and how to handle the two fights that gate most solo players — the shadow monarch and the ant king. Every tip below comes from community testing on the current patch, last verified September 2026.
Preparing for a Solo Raid Run
Preparation decides whether your Anime Breaker solo raid strategy ends in a clear or a rage quit. Before you queue, you need three things in place: a usable portal key, gear that can sustain solo damage intake, and a basic understanding of how the matchmaking timer actually behaves when you are the only human in the lobby.
Portal Key Unlock and Cost
The portal key is the entry ticket. You cannot enter a raid portal without one, and the tier of the key determines which boss spawns and what difficulty modifiers apply. According to the official Anime Breaker game page, portal keys are earned through portal completions, daily streak rewards, and limited event milestones.
| Key Tier | Source | Unlocks | Solo-Friendly? |
|---|---|---|---|
| Bronze | Daily login, beginner portal drops | Tutorial raids, Demon Castle (easy) | Yes |
| Silver | World boss completions, raid drop pool | Shadow Monarch portal, mid-tier raids | Yes with right comp |
| Gold | Ant King clear, weekly missions | Endgame raids, Mythic modifier | Borderline solo |
| Mythic | Event rewards, top 1% drop rate | All raids, hidden bosses | Needs optimized build |
Bronze and Silver are the realistic solo entry points. Trying to push a Mythic key without a full party is a waste unless your build is fully optimized and you have at least one mythic weapon. Save those for when you have backup.
Solo Player Loadout Verification
Your character sheet matters more in a solo run because there is no healer to bail you out — every mistake compounds across a 12–15 minute solo Silver key clear, and the Shadow Monarch and Ant King bosses each have a one-shot combo after the 50% HP threshold. Community data from the Anime Breaker Discord suggests the following loadout is the minimum viable setup for a solo Silver key run, based on aggregated wipe logs from roughly 800 attempts last patch:
-
One mythic or legendary weapon at level 80 or higher
-
Companion team with at least one shadow-tier card for revive passive
-
Avatar with attack speed bonus above 12% to keep DPS uptime during enrage phases
-
Card luck potions stacked to at least 2x for better drop odds on the clear
If you are missing any of these, grind them first. Running a raid without a revive source is the single most common cause of solo wipes, because every boss in the current roster has at least one one-shot mechanic.
Reading Anime Breaker Raid Spawn Timers
Anime Breaker raid spawn timers are not hidden, but they are easy to misread. The portal map shows a countdown, but the actual spawn window is wider than the UI implies, and the timer resets the moment the portal is "claimed" by a party. For solo players, this means you need to understand the difference between server time and lobby time.
Server vs Lobby Timers
Every raid boss in Anime Breaker operates on a 30-minute server-side cycle. The portal opens, stays available for 8 minutes, then locks until the next cycle. If nobody enters the portal during the open window, the boss does not despawn — it just waits for the next cycle.
| Timer Type | Duration | Resets When? | Solo Implication |
|---|---|---|---|
| Portal Open Window | 8 minutes | New cycle starts | You have 8 min to enter and clear |
| Server Cycle | 30 minutes | Portal opens again | Miss the window, wait 22 more minutes |
| Boss Enrage | 5 minutes after combat starts | Combat begins | DPS check the boss before timer hits zero |
| Cooldown After Clear | 15 minutes for the same portal | You finish the boss | Rotate to a different portal while waiting |
The biggest mistake solo players make is staring at the portal for the full 8 minutes, then panicking when the timer hits 30 seconds. You actually have until the next cycle to enter. Stand near the portal, wait for the next open window, and step in calmly.
Best Times to Queue Solo
Server population peaks between 6 PM and 10 PM UTC, which means more random players might join your lobby even if you queue solo. If you want a true solo experience, queue during off-peak hours: 2 AM to 8 AM UTC. Fewer players means fewer surprise party joins, and the matchmaking system will match you against AI-controlled raid bosses instead of forcing a co-op session.
For a deeper breakdown of how raid mechanics interact with these timers, the raid mechanics guide covers the full portal rotation cycle in detail, including the 15-minute spawn windows for bosses like the Ant King and Shadow Monarch, the portal key unlock requirements tied to daily streak resets, and how off-peak queueing shifts the matchmaking pool from 8-player lobbies to solo-AI encounters that drop the same tier-list rewards without requiring a party invite or voice coordination.
Anime Breaker Raid Drops Tier List
Drop priority is the part of the Anime Breaker solo raid strategy that most guides skip, but it matters. You can clear the boss and still walk away with nothing useful if you do not know which drops to prioritize and which to leave for a reroll.
Drop Tier Breakdown
The drop table is divided into four tiers. Tier 1 always drops, Tier 2 has a 60% chance, Tier 3 has a 25% chance, and Tier 4 is a 1% lottery ticket. Solo players should treat Tier 1 and Tier 2 as guaranteed income, and only chase Tier 3 when they have card luck potions active.
| Drop Tier | Drop Rate | Contents | Solo Priority |
|---|---|---|---|
| Tier 1 — Common | 100% | Basic upgrade materials, gold, Bronze keys | Always take |
| Tier 2 — Uncommon | 60% | Companion shards, Silver keys, weapon upgrade stones | Always take |
| Tier 3 — Rare | 25% | Shadow cards, Mythic weapon pieces, Gold keys | Take with luck pot active |
| Tier 4 — Mythic | 1% | Full Mythic weapons, exclusive avatar skins, event tickets | Lottery only |
What to Pick vs What to Skip
When the drop screen appears, you usually get a choice of three items. Take the companion shard or the Silver key, even if you already have one. Stacking Silver keys lets you chain three solo runs in a row without grinding for entry. Skip cosmetic drops unless you are completionist — they sell for almost nothing and they clog your inventory.
If you are chasing a specific Mythic weapon, run the same portal at least five times in a row with card luck potions active. Community data shows the drop rate climbs to about 3% under those conditions, which is three times the baseline. The companion tier list helps you decide which cards to slot during these farming runs.
Solo Strategy for Major Raid Bosses
The two bosses that gate solo progression are the shadow monarch and the ant king. Both are designed with party mechanics in mind, but both have exploitable solo windows. Here is the Anime Breaker solo raid strategy for each, plus a few notes on the easier portals you should clear first to build up your key inventory.
Shadow Monarch Raid Solo Strategy
The shadow monarch is the first real DPS check. He has three phases, and each phase introduces a new mechanic. The solo route is to skip the adds in phase 1 and go straight for the boss, burn the shield in phase 2 with your strongest companion summon, then survive the enrage in phase 3 by kiting around the arena perimeter.
-
Phase 1 — Ignore the shadow adds. Focus fire the monarch. He teleports to the center of the arena every 20 seconds, which is your burst window.
-
Phase 2 — The shield appears. Pop your shadow companion's ultimate here. If you do not have a shadow companion, you cannot solo this phase reliably. The companion team composition guide covers how to build a shadow-tier team on a budget.
-
Phase 3 — The enrage. The monarch's attack speed doubles and his damage triples. You cannot out-DPS him. Kite clockwise around the arena, dodge the red telegraph circles, and let your passive damage tick him down.
A clean 7-minute clear assumes you enter phase 3 with at least two cooldowns (your ultimate and either your dash i-frame or your companion's burst skill) still available, since the enrage lasts roughly 90 seconds and the monarch's triple-damage swings will two-shot you without a defensive tool. Most solo wipes trace back to phase 2 overcommitment — players pop shadow extraction, summon burst, and potion buff simultaneously to break the shield in one rotation, then have zero resources when the attack-speed and damage multipliers activate. Hold your potion and one cooldown specifically for phase 3, and save a dash charge to skip the first red telegraph circle, which lands 3 seconds after the enrage timer starts.
Anime Breaker Ant King Boss Fight
The ant king is the real solo wall. He has a healing mechanic that punishes players who focus on adds instead of the main body, and his burrow attack can one-shot a level 80 character with no defense stacking. The Anime Breaker ant king boss fight is winnable solo, but only if you respect the burrow timing.
The fight opens with a wave of ant adds. Kill them fast — the king heals 1% of his max HP for every add that survives more than 30 seconds. Once the adds are down, the king emerges from the ground and starts his standard melee combo. Save your dodge for the burrow telegraph. The ground shakes for about 2 seconds before he comes up, and the hitbox is massive. Roll sideways twice, not once.
| Ant King Phase | Key Mechanic | Solo Counter |
|---|---|---|
| Phase 1 — Adds | King heals from surviving adds | AoE clear in 25 seconds |
| Phase 2 — Melee | High damage, short telegraphs | Block and counter |
| Phase 3 — Burrow | One-shot circle attack, 2 sec windup | Double-roll sideways |
| Phase 4 — Enrage | Adds return + burrow spam | Focus adds first, kite king |
Phase 4 is the enrage. Adds come back and the burrow cooldown drops to 8 seconds. The solo route is to clear adds first, then kite the king around the outer ring until his enrage timer expires. Do not try to DPS him during phase 4. He will burrow on top of you.
Easier Portals to Farm First
Clearing these three portals before attempting the Ant King or Shadow Monarch gives you both the Silver keys and the muscle memory required for harder solo raid attempts. Demon Castle's slow attack cadence is ideal for learning i-frame timing, Dragon Ball World forces tight AoE cooldown management, and Shadow Portal's easy modifier strips out the phase 3 enrage so you can read telegraphs without dying. Skipping straight to the real bosses with Bronze keys just means burning your limited respawns on fights you aren't yet equipped to read.
-
Demon Castle (Bronze) — The tutorial raid. Solo clear takes 3 minutes. Drop is guaranteed Silver key.
-
Dragon Ball World (Bronze) — Adds-heavy portal. Practice your AoE rotation here.
-
Shadow Portal (Silver) — This is the actual shadow monarch portal, but the easy modifier lets you practice the fight without the phase 3 enrage. Use it to learn the telegraphs.
For a full breakdown of every portal's coordinates, respawn timer, and drop table — including which Silver portals can substitute for a failed Bronze key attempt — the secret portal location guide is worth bookmarking, since portal rotation shifts every 30 minutes in real time and a misread map pin can cost you 10+ minutes of walking back to the Ant King spawn.
Solo Raid Party Buffs and Avatar Optimization
Even when you queue solo, the game gives you passive party buffs from your companion team. The trick is to stack the right ones. Solo players do not get the co-op damage bonus, so you need to compensate with avatar stats and weapon passives.
Weapon and Avatar Stacking
Weapon damage bonus and avatar attack speed are the two stats that scale hardest in solo raids. According to community testing on the 1.5 patch, a level 90 mythic weapon with damage bonus rolls outperforms a level 100 legendary without the roll by about 18% in sustained DPS. The weapon damage bonus guide covers how to reforge weapons to get the bonus stat to drop.
| Stat | Solo Weight | Why It Matters |
|---|---|---|
| Weapon Damage Bonus | 10/10 | Multiplies all outgoing damage |
| Avatar Attack Speed | 9/10 | Faster attack cycles during burst windows |
| Card Luck | 7/10 | Better drops, indirectly more gear |
| Defense | 5/10 | Survival against one-shots |
| Health | 4/10 | Mostly redundant if you dodge correctly |
Solo Party Buff Equivalents
When you are alone, you can simulate party buffs by slotting two companion cards from the same anime. The matching set bonus gives you a damage boost that mimics the 2-player party multiplier. The strongest solo pairing right now is a shadow monarch card plus a solo leveling card, which gives roughly 14% bonus damage and a small heal on kill.
Frequently Asked Questions
Can you actually solo a raid in Anime Breaker without a party?
Yes. Bronze and Silver tier raids are fully soloable with a mid-game build, and the shadow monarch fight is soloable with a shadow-tier companion team. The ant king requires optimized gear but is still winnable without backup. The only raids that lock out solo players are the Mythic modifier portals, which are designed for full parties.
How do I unlock a portal key if I have never done a raid before?
Start with the Demon Castle portal. It is the tutorial raid and it drops a guaranteed Silver key on first clear. Use that Silver key to enter the shadow portal, clear the easy modifier, and you will have enough keys to start farming the harder content within an hour of focused play.
What is the best drop to prioritize in a solo raid clear?
Always take the Silver key or the companion shard. Silver keys let you chain runs without grinding, and companion shards eventually unlock shadow-tier cards which are the single biggest power spike for solo players. Skip cosmetic drops — they are vendor trash.
Why does the portal timer look different from the actual spawn window?
The portal UI shows a countdown to the next server cycle, not a hard despawn timer. The boss is still in the instance and will wait for the next open window. Solo players who panic because the timer hit zero usually miss the next cycle because they are running back from the spawn point.
Do card luck potions actually help in solo raids?
Yes, but only in the long run. Each potion doubles your Tier 3 drop chance for one clear. Over five runs with potions active, your expected Tier 3 haul goes from about 1.25 items to about 2.5 items. The potions cost gold, so only use them when you are farming a specific Mythic weapon piece.